This post may contain affiliate links. Please read my disclosure.
Are you a shower person or a bath person? I love baths, but I haven’t had the time the past few months and I really missed them, they are so relaxing! This past week though, I caught some type of virus, so I took a bath every night to reap the benefits of Epsom salts, which help detoxify, boost the immune system, relieve aches and increase magnesium. In addition to adding Epsom salts to my baths, I also like to add a little baking soda, coconut oil, and essential oils for the benefits. What’s the perfect way to add all these fantastic ingredients to your bath? A great bath bomb! They are very popular lately and they sound very cool, like something you would get at an upscale spa. But you can make your own with this bath bomb recipe, which includes all the beneficial ingredients I mentioned above!
Beneficial Ingredients in my Bath Bomb Recipe
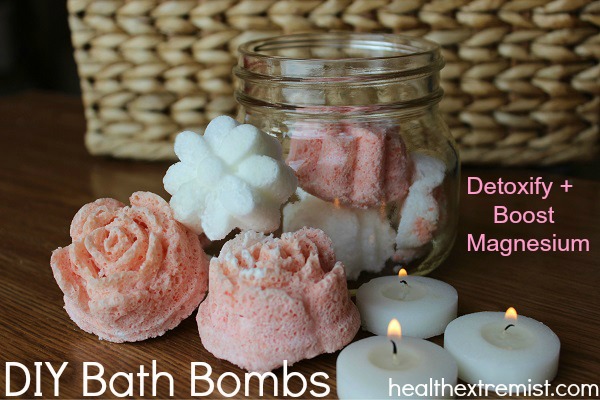
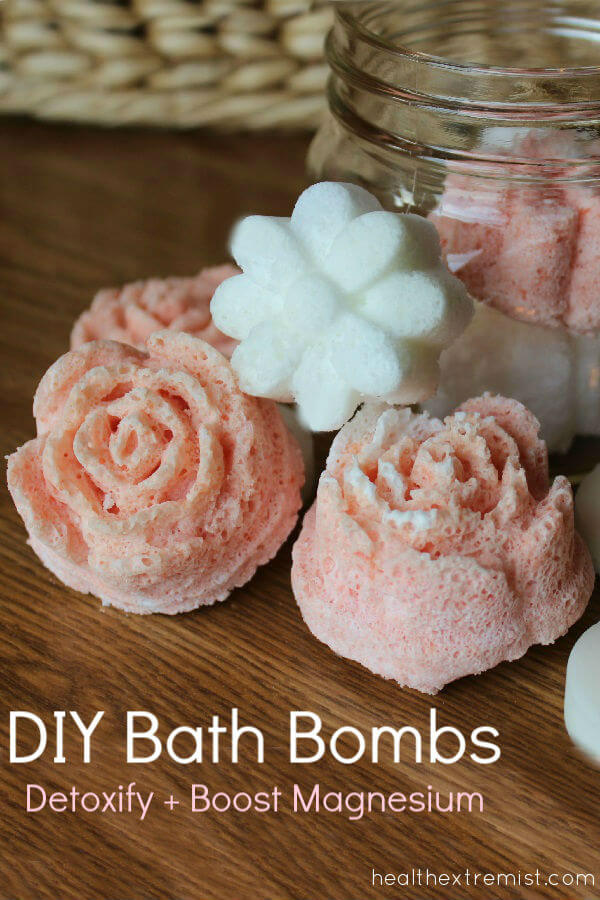
This bath bomb recipe combines all of the beneficial ingredients into one fizzy ball. I love to keep them in a glass mason jar next to my tub, so when I’m ready for a relaxing bath, all I need to do is throw one in.
So you may be wondering what’s in these bath bombs, the primary ingredients are baking soda, Epsom salts, citric acid, and coconut oil. Here’s each ingredient with it’s benefits:
Baking Soda– I love to add some baking soda to my bath because it aids in drawing out toxins from your body. Not only does it remove toxins, it also aids in alkalizing your body, helps treat common skin problems, hemorrhoids and yeast infections.
Epsom Salts– Many people are deficient in magnesium and Epsom salt baths are a great way to increase magnesium levels! When you bathe in Epsom salts, the magnesium and sulfates are absorbed in the skin, pulling out harmful toxins from your body! Some of the health benefits of magnesium include; fighting inflammation, increasing blood flow and improving oxygenation in your body. Just some of the conditions Epsom salt baths help are; sprains and bruises, athlete’s foot, toenail fungus and gout.
Coconut Oil– There are so many benefits of coconut oil, that’s why I included it as an ingredient in my bath bomb recipe! You can get many health benefits by adding it to your bath. Not only does it help your body by improving your immune system, in the bath it helps moisturize and smooth your skin. It is also very soothing and healing for many skin conditions such as eczema and acne!
Citric Acid/ Cream of Tartar– For this bath bomb recipe I use citric acid, but I read that many use cream of tartar in place of this ingredient and it works just as well. Citric acid gives the bomb it’s fizzies and it is often used as a food additive. It is a natural acid that is found in fruits and vegetables such as lemons and it is what gives fruits or candies a sour taste.
Optional Ingredients:
Essential Oils– I added lavender oil to this bath bomb recipe because it is a soothing oil as it’s aroma helps combat stress and anxiety. Many people spray a mist of lavender oil on their pillows to help them fall asleep.
Food Coloring– Without any food coloring these bath bombs are a nice bright white color. You can add beet juice to the mixture or a few drops of natural food coloring to get any color you would like.
Easy and Save Time
Not only is this bath bomb recipe easy to make, but it saves the hassle of adding all of these separate ingredients to your bath each time you want to take one.
When you’re ready for your bath all you need to do is pop one of these bath bombs into your tub, watch it fizz and hop in. They are such a time saver!
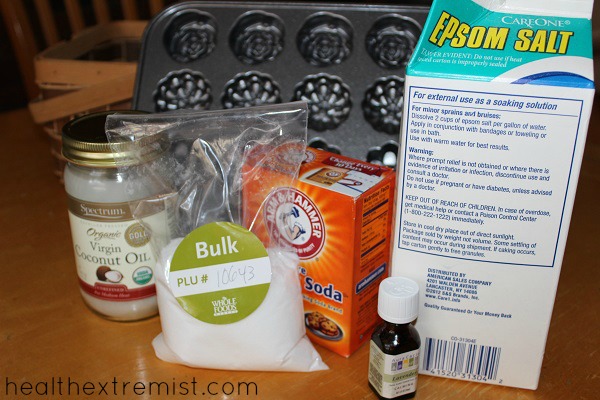
Here’s what you’ll need to make the bath bombs:
Bath Bomb Recipe
Ingredients:
- 1 cup Baking Soda
- 1/2 cup Epsom Salts
- 1/2 cup Citric Acid
- 2 tablespoons Coconut Oil
- 3 teaspoons Water
- (optional) 4-5 drops of Essential Oil (I used lavender oil)
- (optional) 1/2 teaspoon of Beet Juice or few drops of Natural Food Coloring
Directions:
1. Mix all dry ingredients in a bowl.
2. Mix all wet ingredients in a separate container.
3. Slowly add the wet ingredients to the dry while stirring. You may see it fizz a little when they begin to mix, but that’s okay just keep stirring. Once they are fully mixed, the mixture should feel like damp sand.
4. Optional: add in beet juice/natural food coloring and mix well.
5. You’ll need something to form the bath bomb in such as a mold. I used a muffin pan that had pretty flower shapes. Once you have your mold, add a few drops of olive oil to each individual muffin molds and rub it around the area. This will allow the bombs to come out easier. (I tried using coconut oil on some of them, but what a mess! I couldn’t get them out.)
6. Add the bath bomb mixture to the muffin pan and press in firmly. The bombs will expand, so don’t fill each muffin area to the top.
7. Leave out at room temperature for at least 3 hours or until dry/hard to touch. Depending on their size, you may need to leave them out overnight.
Have fun making this bath bomb recipe and enjoy your bath bombs!


I’m super excited to try this out. I’m going to use orange, lemon, and lime essential oils in them and a little bit of powdered lemon and orange peel. Going to test them out and if they work good I’m going to make a bunch as party favors for my best friends baby shower in June or July.
That sounds awesome!
Hi Lori, I tried making these yesterday in a couple of different sizes. But the bases of the bombs (the part exposed to the air) have dried and the part in the pan has not even hardened a little bit yet. I have a feeling I did something wrong. Have you ever had this problem in making these. I used a silicone tray with small opening and a regular muffin tray. Any tips? Im trying to recreate the discontinued Bronnley bath cubes.
Is there any way to make bath bombs with just epsom salt ,water and Flour?
Hi Valerie, I’m not sure if it would work with out the citric acid. It would be great for you bath, but probably just wouldn’t have the fizzy effect.
I love to make my own bath bombs. I am definitely going to make these amazing bath bombs. I use Himalayan bath salt and really like it, so I am thinking about using it instead of Epsom salt. I have heard so much about Himalayan salt benefits for the skin and body. I use it in cooking as well.
Great! Let us know how you like them 🙂
i saw one post where someone said this only works for pressed fizzies and not the round ones.
just know that this is not true and this recipe works great for any shape of bath fizzies.
Thanks!
Don’t add any water it makes it react.I added more coconut oil until it sticks together.
Made this recipe today and replaced coconut oil with almond oil. I added the liquid slowly and glad I did because I did not need all of it. Did not use beet juice but used colored pigment used for soap and bath bombs. It turned out great. Wonderful recipe. Also easy and came out of the molds easily. I will use this again.
Thank you for sharing how it turned out!
Just a few suggestions If your using water you might want to add a preservative if you want to keep it for awhile. Instead of water I use witch hazel will help bind the ingredients together and help the product release from the mold.
Also I would a cosmetic colours over food dye as I have heard of people getting food dye around their tubes and skin that are hard to get off. You can find cosmetic colours at Michaels.
Great idea with the witch hazel!
Mine that overflowed have a marshmallow texture. I read through again to see how to get them out of the round ball mold. It looks like you didn’t use the ball-shaped molds. One user commented on that, but I didn’t realize its importance. Every few hours, I pushed the ball halves back together in hopes of a compressed ball, and wiped off the marshmallow overflow from in between. When they finally hardened, the halves just broke apart in the middle, and they aren’t coming out. There was only one ball that turned out as expected: it was rolled by hand and dried hard inside a ziplock bag because we ran out of molds. I also did some in plastic ice trays with olive oil in each one, but they weren’t hard after 8 hours. I’ll check again this morning. Hope this helps someone.
I had an epiphany after further research. The round molds are only used to shape the bomb; the mixture isn’t to be left in the mold. Update on the ice tray mold — did not work. My mixture might have been too dry to stick together. It emptied when the tray was turned over but did not dry into a shape.
Thanks for sharing Kay.
Hi Lori!
what a cute Website! I am very excited to go home and try to make these. <3
I wanted to make some cute Christmas shapes, and I was curious if you've ever used cookie cutters to form your shapes instead of a muffin tin.
Let me know your thoughts and Merry Christmas 🙂
Thank you so much! Cookie cutters would work great! Merry Christmas
Hi! I was wondering if the salt would work if it is already pre-mixed w an essential oil ( lavender) ? Any size mold should work? If there is an added ingredient like glitter, flowers.. etc. would it disrupt any drying process ?
It should still work. You can use any size mold. Great idea to add flowers!